
Rundocs › Getting Started
Sign-in
Last updated 2026-07-06
Signing in to Rundoo takes less than a minute. Pick your location, then verify with a one-time code we email you, a code we text you, or a physical login key.
Rundoo opens at your tenant URL (e.g. demo.rundoo.app); visit it unauthenticated and the sign-in card loads automatically.
Video walkthrough
Step 1: Pick your location
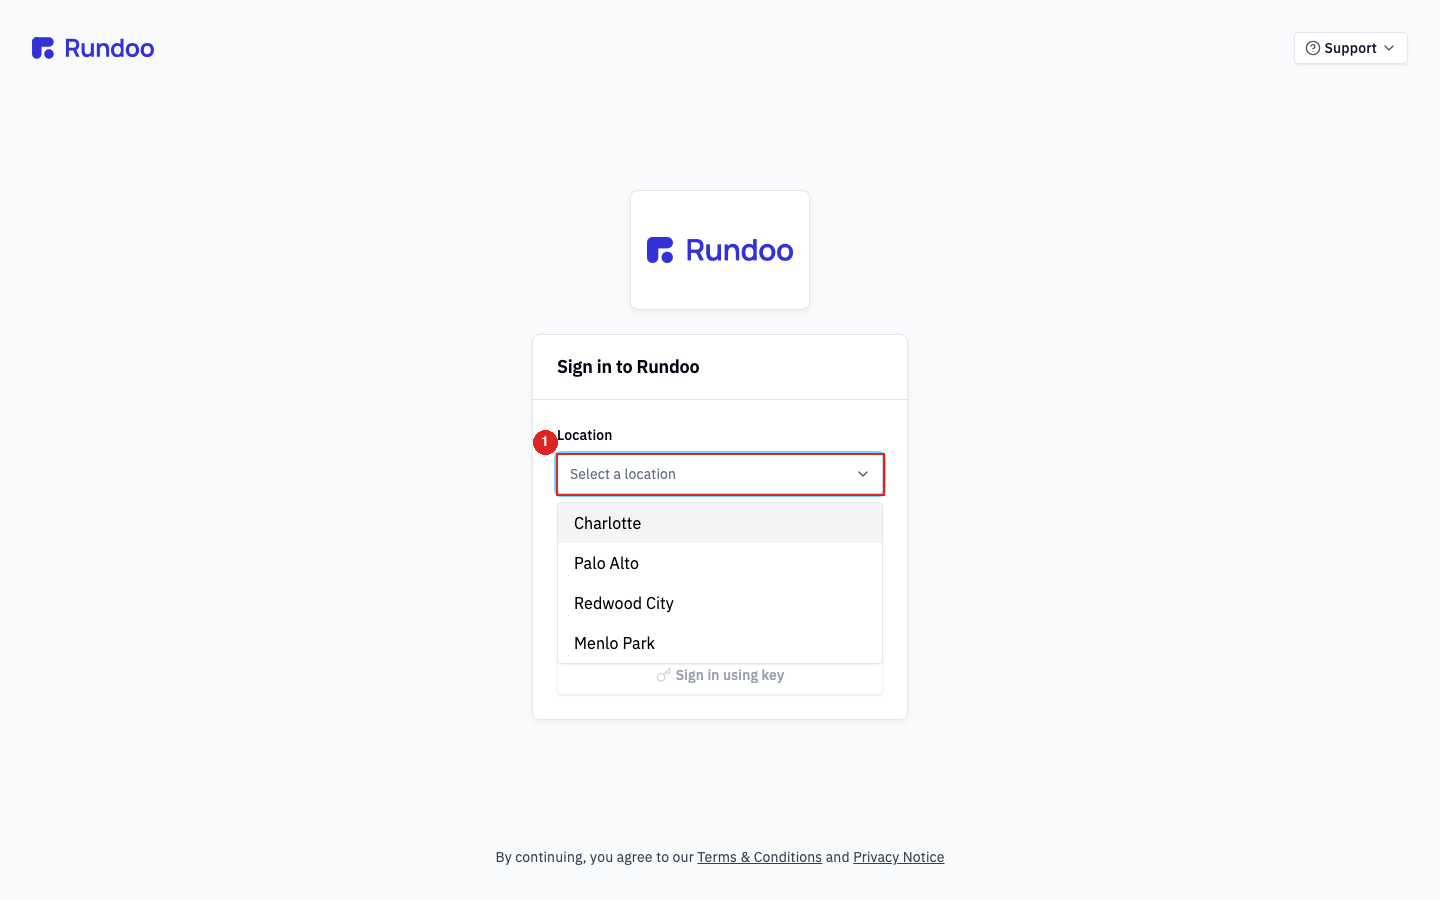
The Location combobox at the top of the card is the first thing you fill, nothing else unlocks until it's set. Click it to see the locations you have access to, or type to narrow the list.
If your company has one store, you'll see one option. If you staff multiple stores, pick the one you're signing in at. It determines which register, receipt templates, and inventory counts you land on.
The Location field is required. The three sign-in buttons only appear once a location is picked, so if you're staring at a screen without them, the combobox above hasn't been filled in yet.
Step 2: Choose how to sign in
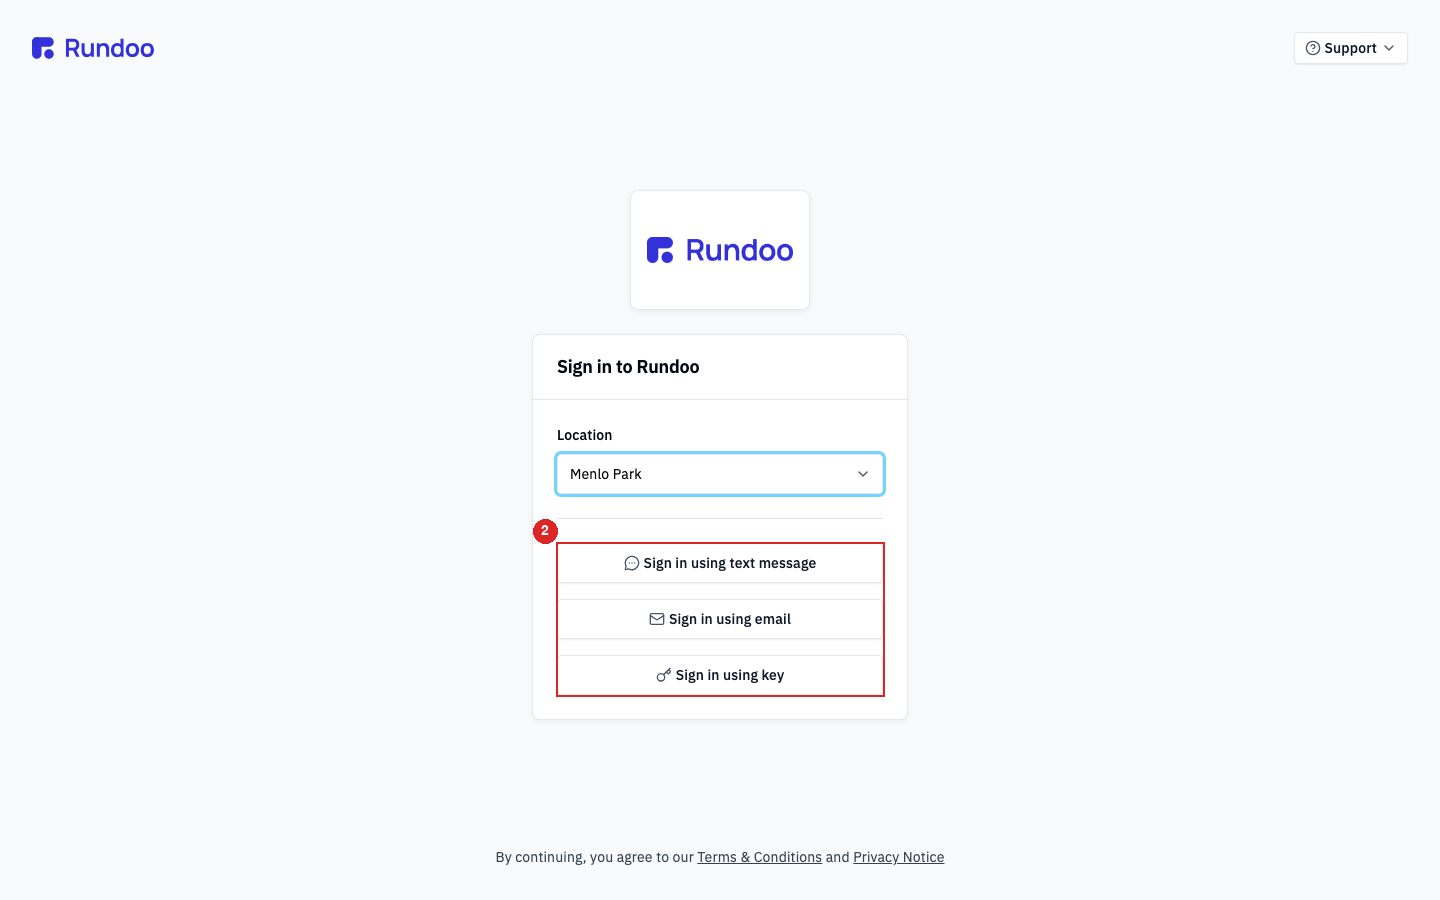
Once a location is selected, three sign-in paths appear:
-
Sign in using text message. Rundoo texts a 6-digit code to the mobile number on your Staff profile. Enter it on the next screen.
-
Sign in using email. Rundoo emails you a 6-digit code from
login@stytch.com. Covered in Steps 3 and 4 below. -
Sign in using key. Hold a registered physical security key (YubiKey or similar) to the computer. No code to type.
The email path is the most common. The rest of this page walks through it. Text-message sign-in follows the same "enter the code we sent you" pattern; key sign-in is one tap and you're in.
Step 3: Enter your Staff ID
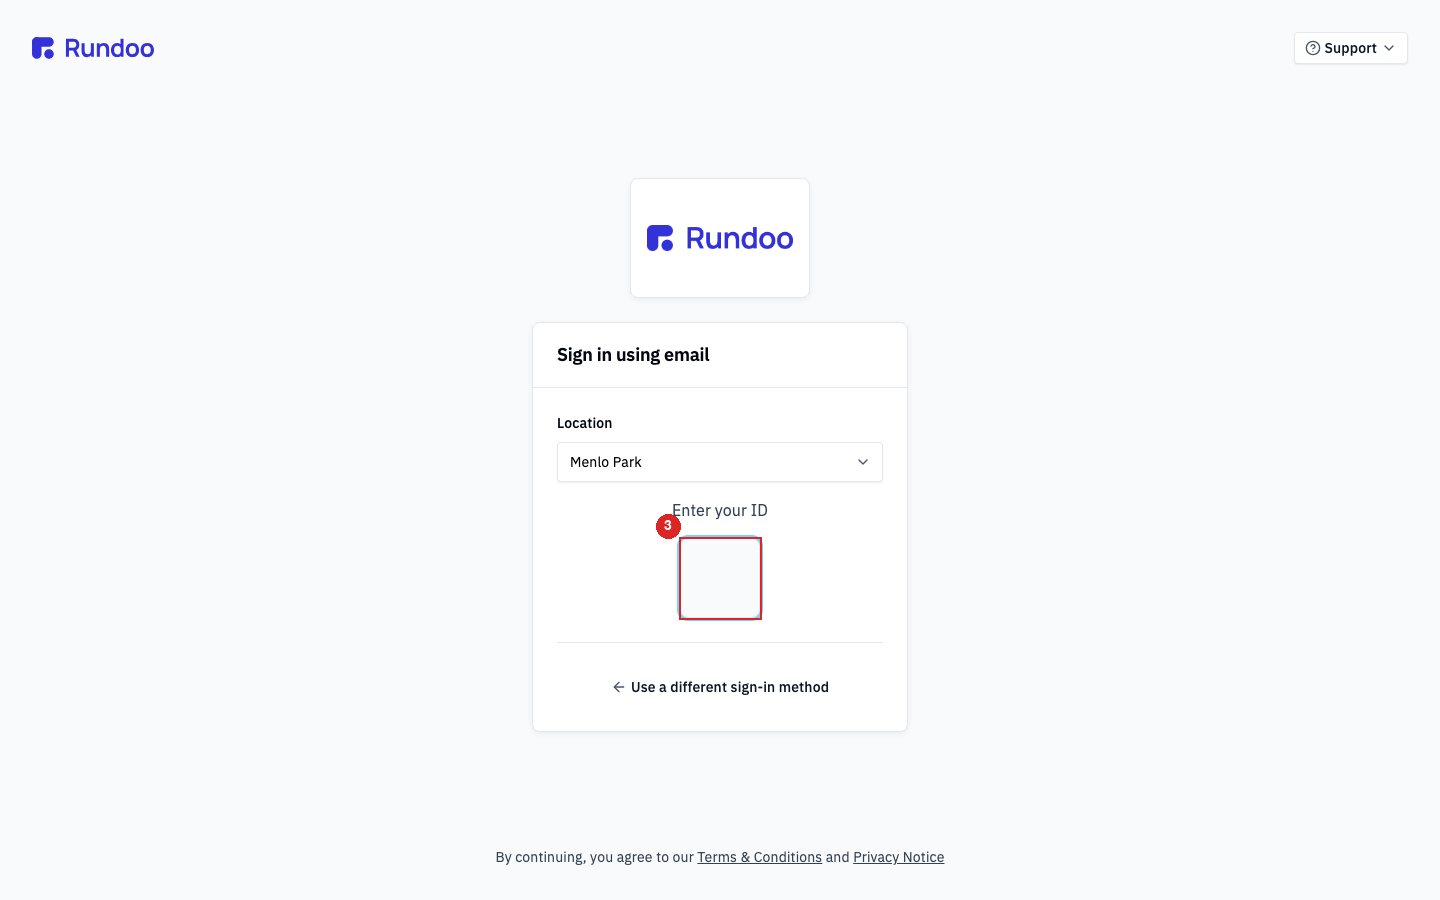
Clicking Sign in using email swaps the card heading to Sign in using email and shows the Enter your ID field. Type your Staff ID (that's the POS ID on your Staff profile (e.g. /N)), not your email address. Submitting mails the code to the address on file for that Staff record.
Your Staff ID is a short POS identifier like /N, not an email. If you type your email in here, Rundoo will tell you the ID wasn't found. It's looking up a Staff record, not a login email.
Hit the wrong button? ← Use a different sign-in method at the bottom of the card returns you to the three-button chooser without losing the location you picked.
Step 4: Enter the 6-digit code
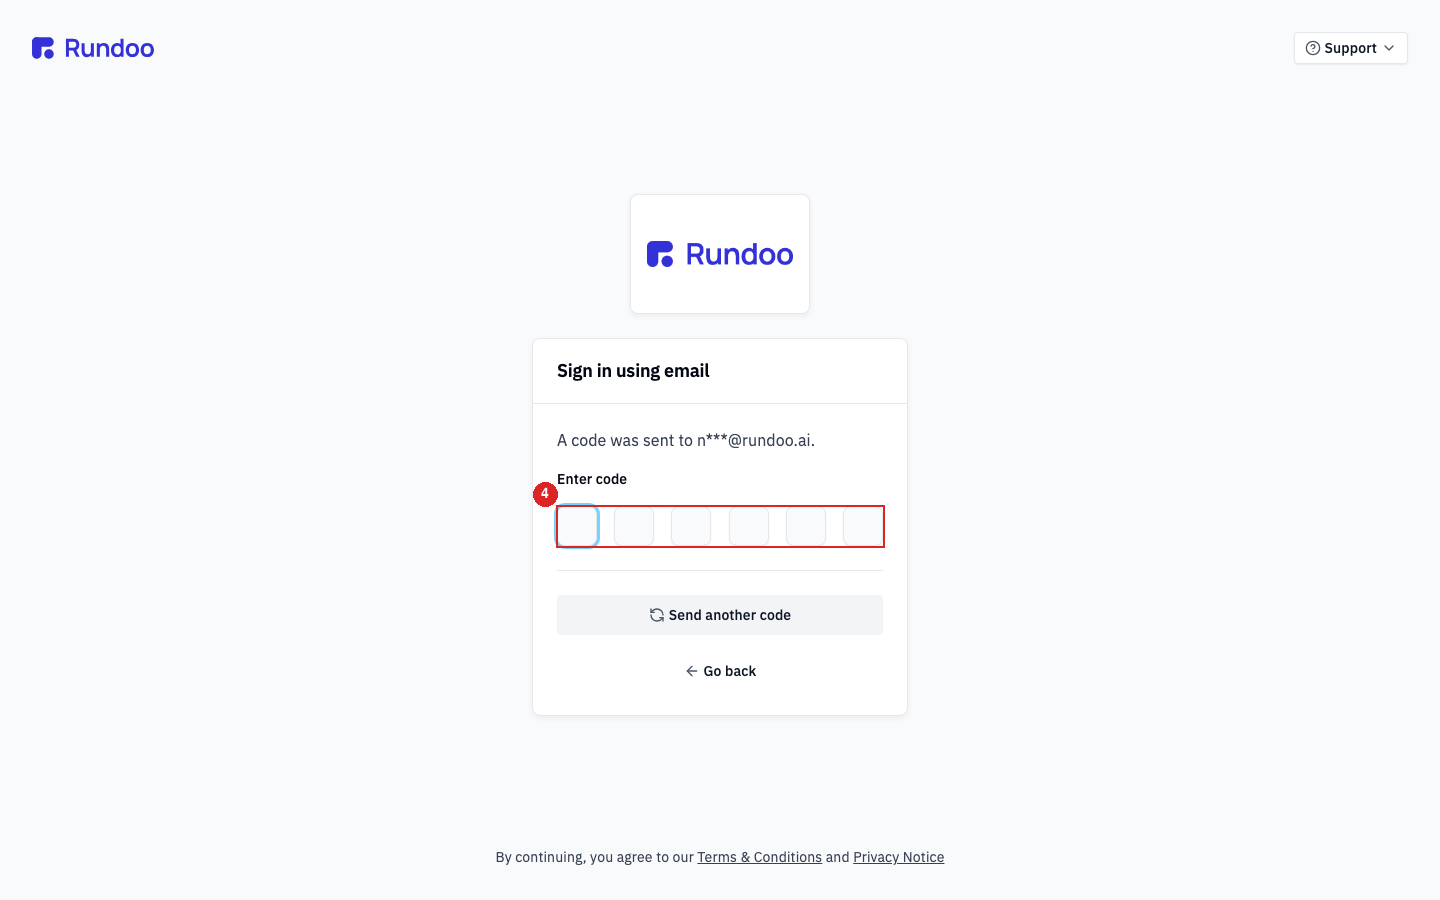
The card now reads A code was sent to {your-email}. with six boxes under an Enter code label. Type or paste the 6-digit code (the cursor auto-advances between boxes, and the code submits automatically once all six are filled).
Check your inbox for a message from login@stytch.com with the subject Your one-time login code for Rundoo POS. The first line of the email is the code.
The code expires in 2 minutes. If you don't get to it in time, click ⟳ Send another code on this screen and Rundoo will mail a fresh one.
If the email never lands, check your spam folder first. Corporate filters sometimes quarantine login@stytch.com. Still nothing? Ask a manager to confirm the email address on your Staff profile is current.
Shared Sign-in with PIN
On a front counter where multiple clerks rotate through a single register, going through SMS or email codes on every switch gets slow. Shared Sign-in with PIN solves that: you designate a staff account as the shared account for the workstation, sign it in once at the start of the day, and each clerk identifies themselves with a 2–6 digit PIN between sales. Every transaction is attributed to the clerk whose PIN was entered, so per-staff reporting stays correct, while permissions come from the shared account.
Setup is three steps, done from Admin mode:
-
Create or pick a dedicated shared account (recommended naming:
Register 1,Front Counter). Its permissions apply to every clerk who uses the register, so match them to what you want that counter to be able to do, not a personal admin account you happen to have lying around. -
Enable shared sign-in on that account. On the account's General tab, toggle Enable shared sign-in on and save. A reminder appears that permissions are governed by this account regardless of which clerk PIN is entered. That's by design.
-
Assign PINs to individual clerks. On each clerk's staff record, type their 2–6 digit PIN in the PIN field on the General tab. PINs only need to be set for staff who'll use a shared workstation; anyone signing in individually doesn't need one.
At the register, the shared account signs in through the normal email/SMS/key flow. After that, Rundoo shows an Enter your PIN prompt; clerks type their PIN and start ringing sales. To switch clerks, click Sign out in the sidebar, it returns to the PIN prompt, not a full sign-out. To fully sign out of the shared account, hit Sign out from the PIN prompt itself.
PINs are for attribution, not permissions. A clerk's PIN tracks who made a sale, not what they're allowed to do. The shared account's permissions govern every action on that terminal. Pair this with Automatically sign out after completing sale in POS security to force a fresh PIN at the start of every transaction.
Setting up a security key
Hardware login keys (YubiKey + NFC reader) get their own walkthrough (gear, the per-staff pairing flow, and the Windows / NFC troubleshooting that keeps taps recognized). See Login keys.
Mobile sign-in
The two Rundoo mobile apps, the Rundoo POS app (your staff) and the Rundoo customer app (your contractors), both sign in via SMS one-time code. The email and key paths above are web-only.
Staff signing in to the Rundoo POS app
Same SMS path as Sign in using text message on the web. Rundoo texts a 6-digit code to the Mobile phone field on your Staff profile, you type it into the app, you're in. Same Stytch tenant, same staff record, same permissions. You don't pick a location on the mobile app. It remembers the location from your last session.
Customers signing in to the Rundoo customer app
The customer app uses a different Stytch tenant from the staff app. Contractors enter the phone number that's on their Contacts row under your customer record (see Customers), and Rundoo texts the OTP there.
If a contractor's phone number isn't attached to any Contacts entry under any of your customer records, the app stops them at a "we don't see your phone on any account" screen. The fix lives on your side, open the contractor's customer record, Contacts tab, Add contact with their phone, save. The next sign-in attempt picks it up.
Contractors whose phone is attached to multiple customer accounts see an account picker right after they sign in; they tap which to log into. That's normal, it happens once at the start of every session.
Full overview of the two apps (which is which, what each does, why they're separate downloads) lives on Mobile apps.
Signing out
Sign out sits at the bottom of the left sidebar, next to Change theme. Click it and Rundoo drops you back to the location-picker card you started on. If you share a register with other staff, sign out between shifts, the next person picks their location and signs in with their own ID.
Recommended Rundocs
After you're in, most cashiers head straight to Navigation to learn the sidebar and top tabs. Managers setting up new logins for their team should see Staff for adding people and assigning POS IDs. Stuck on a sign-in screen you can't get past? Rundoo Support can verify your Staff record from their side.