Can't see sign-in buttons?
Pick your Location first
They only appear after you choose a store.

Getting Started with Rundoo · Transactions
Get into Rundoo, add your team, and set who can do what.
Your first morning on Rundoo comes down to two things: get yourself signed in, and get your crew in with the right keys to the right doors. Neither takes long, and you're the one holding the keys. Here's the whole setup, from your own sign-in to handing each person exactly the access they need.
This is the one thing that trips everyone up on day one, so it goes first. On the sign-in screen, choose your Location from the dropdown before anything else. The sign-in buttons do not appear until you do, so if the card looks empty, that is why. If you have only one store, you are already set.
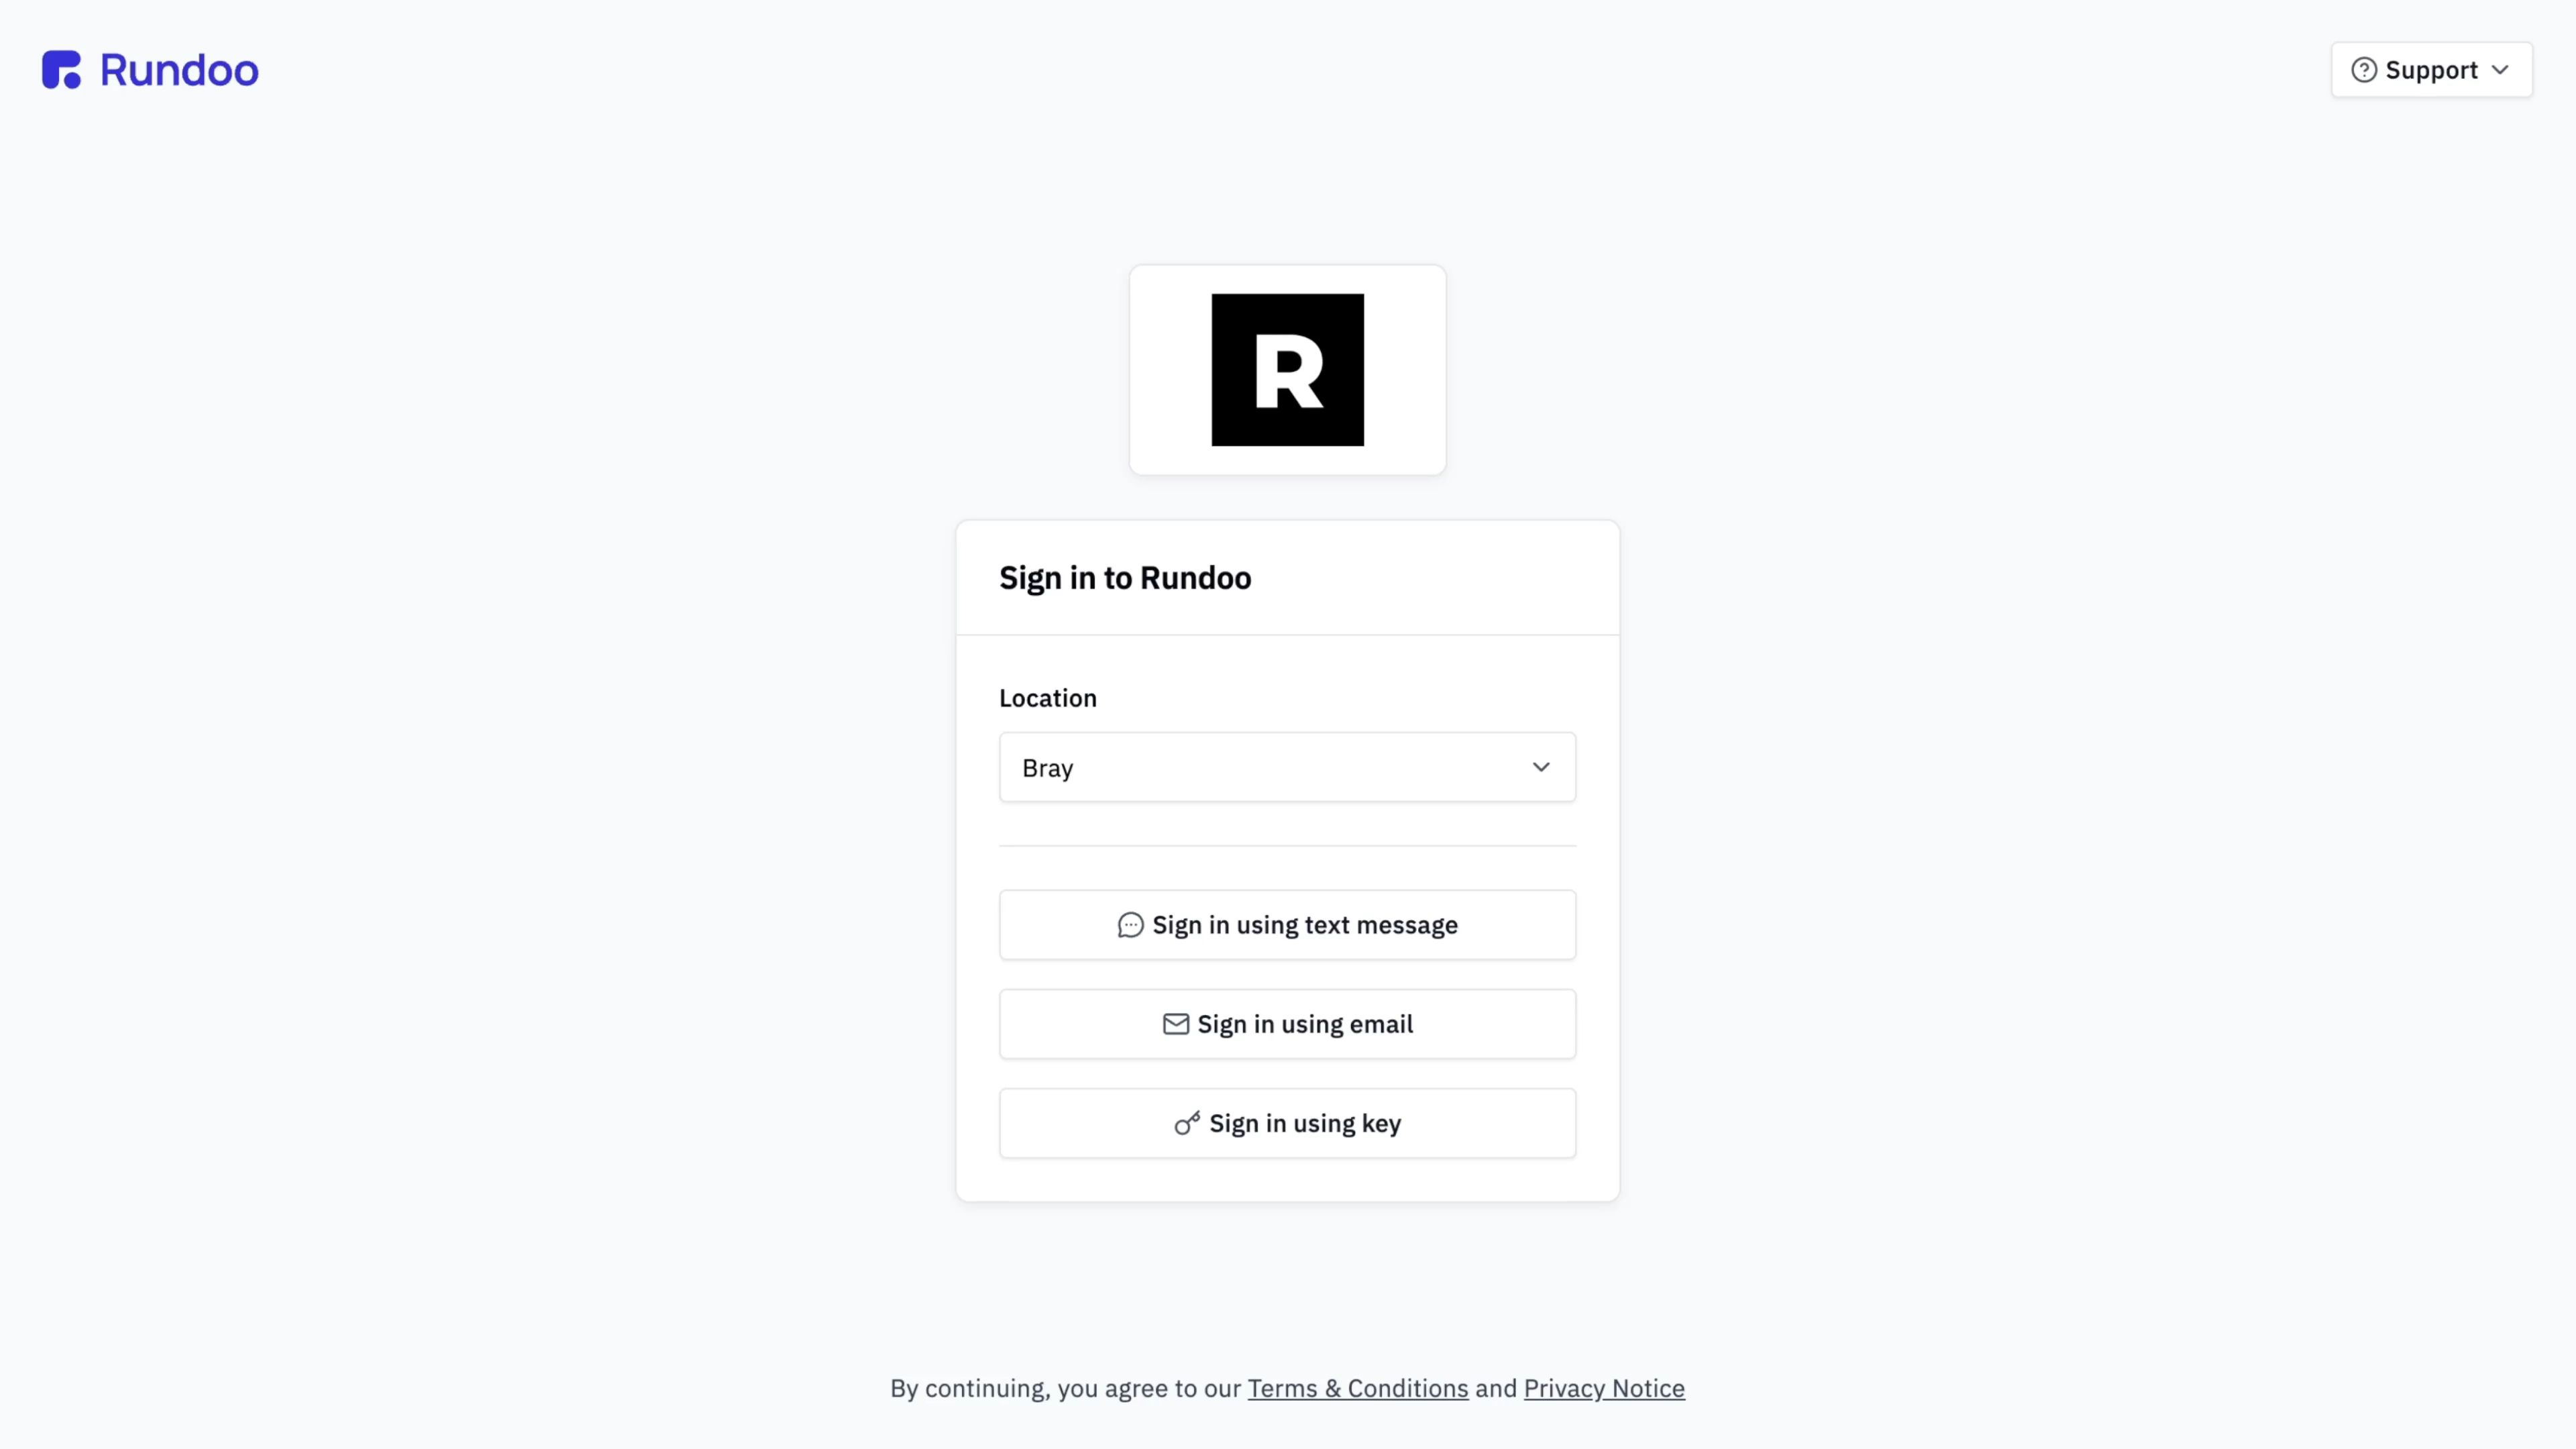
You have three secure ways in: a code by text message, a code by email, or a tap of a security key if your store uses them. Most folks use email. One catch: on the email path, Rundoo asks for your Staff ID, the short code on your profile (like an initial or a number), not your email address. Type in the six-digit code it sends, and you're in. The code lasts only a couple of minutes, so grab it while it's fresh, or hit Send another code.
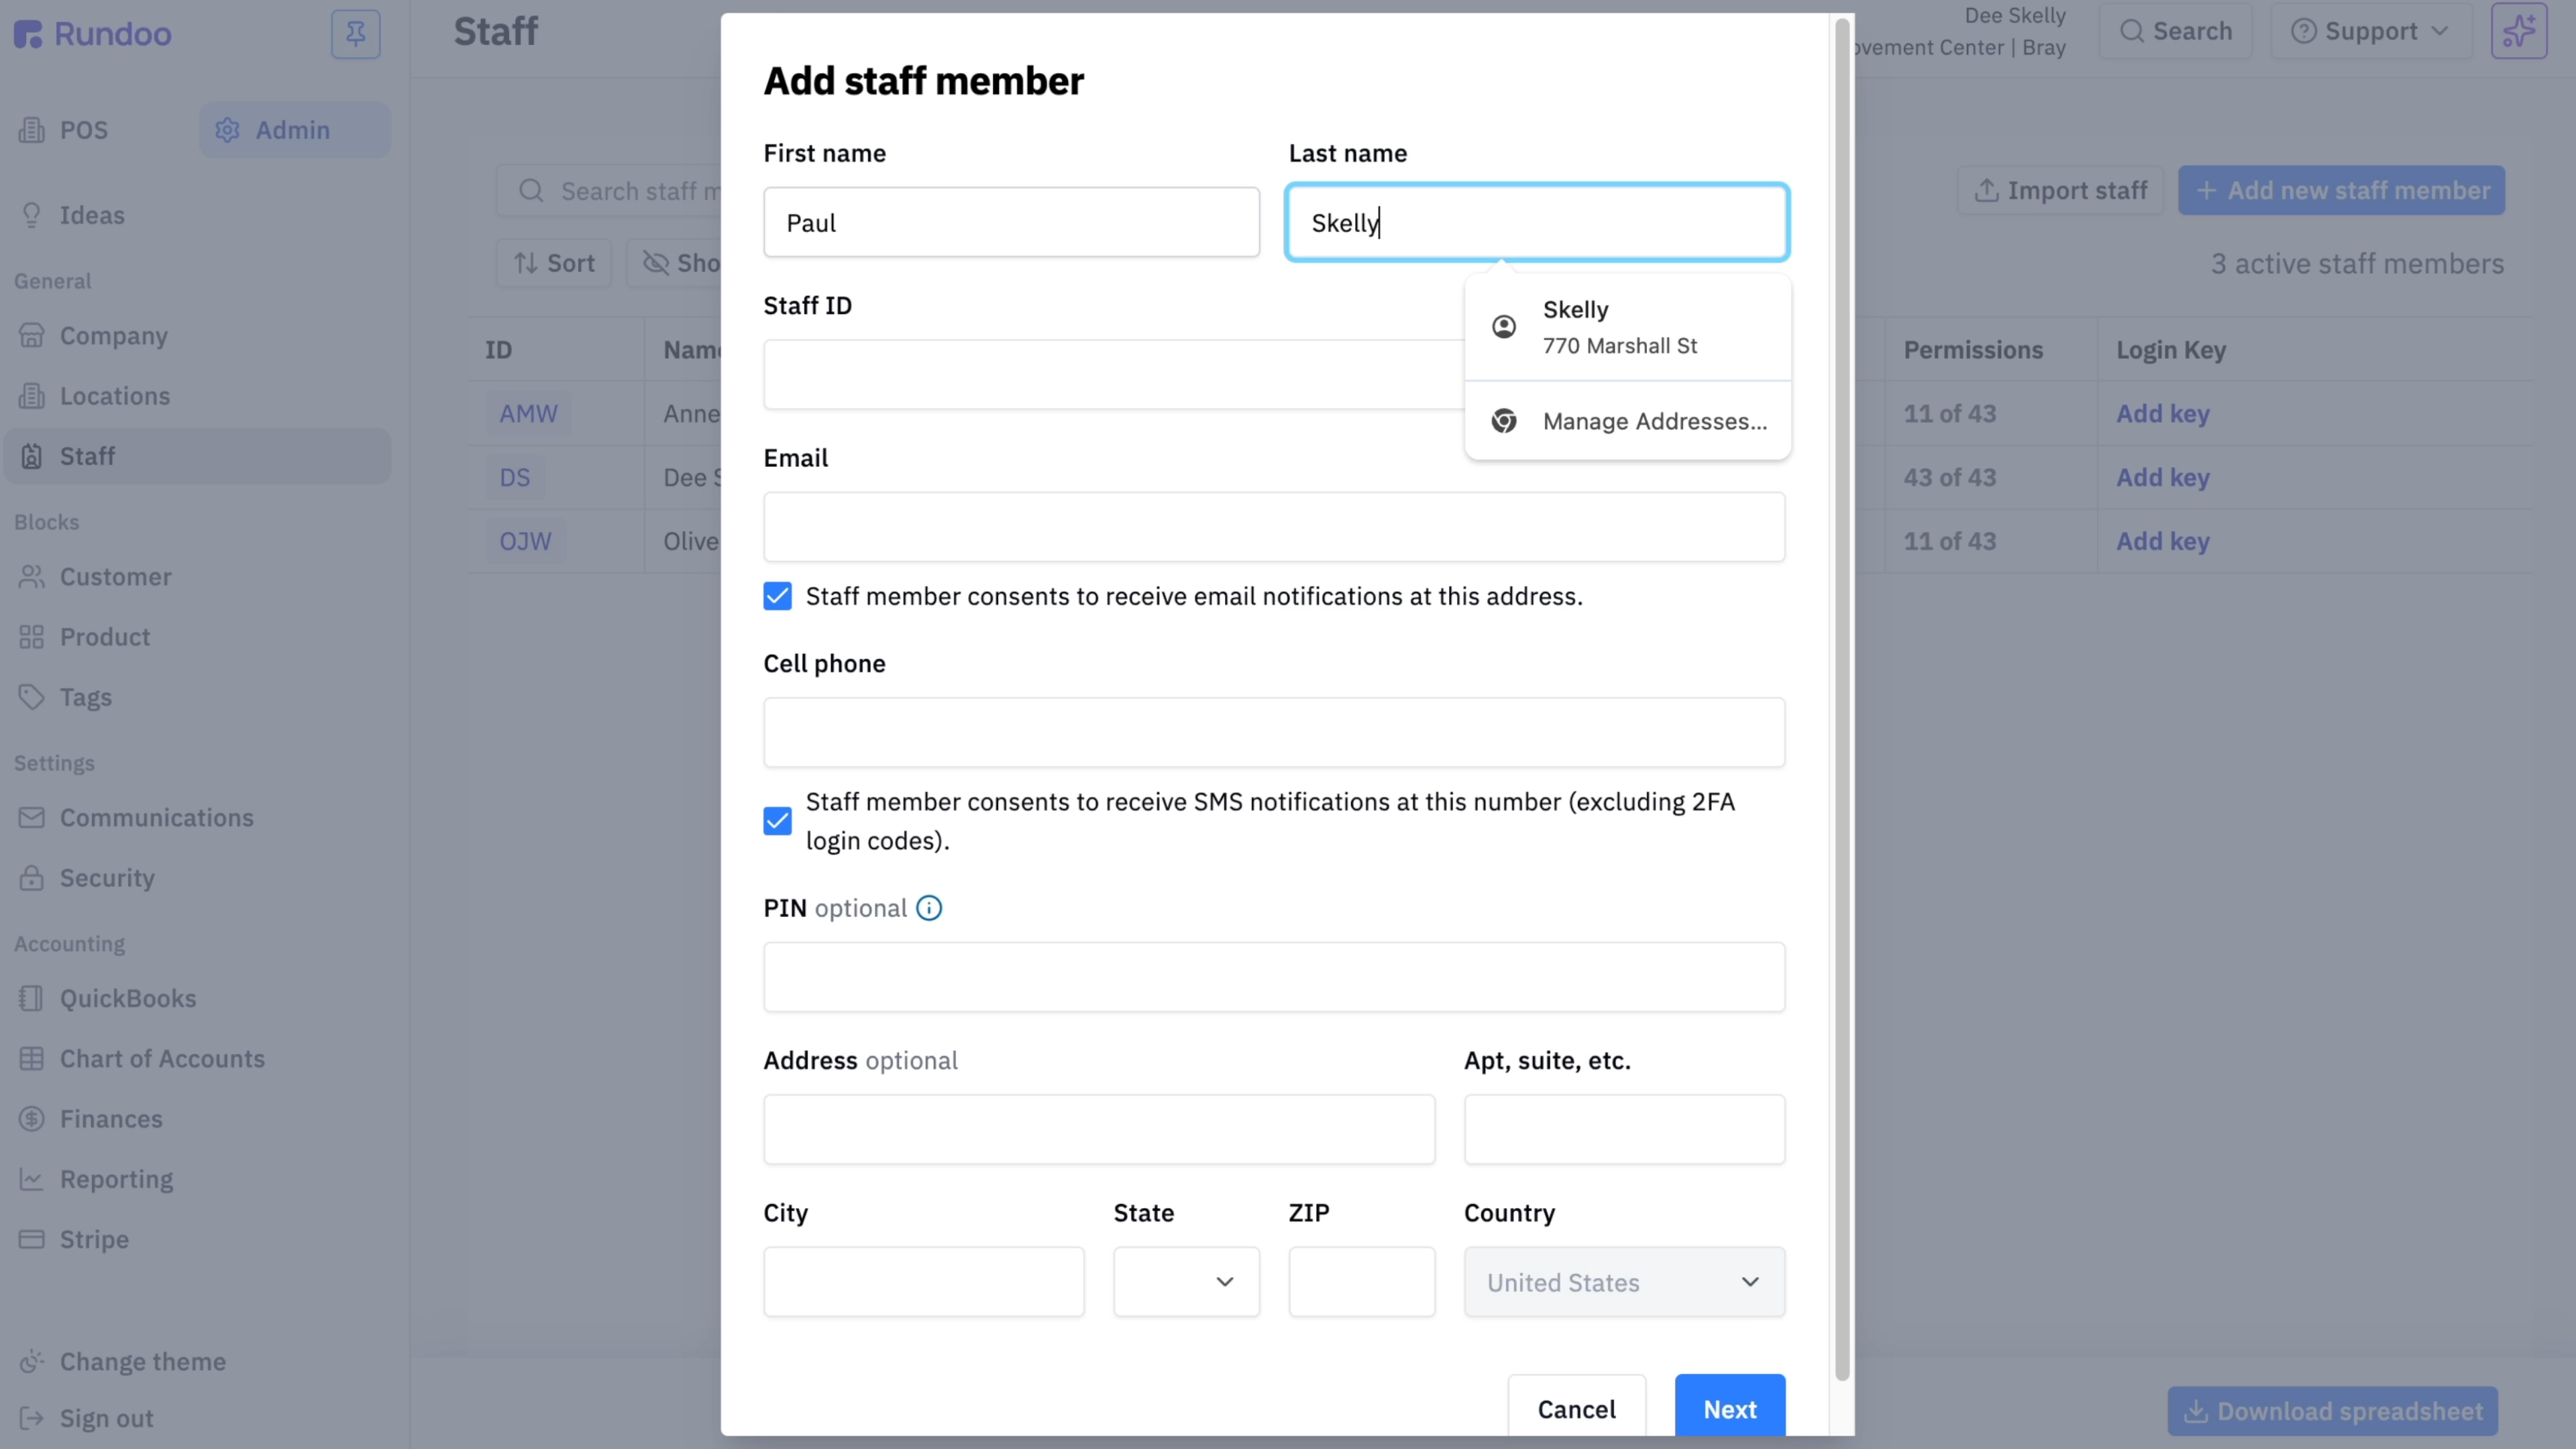
In Admin mode, open Staff and click Add new staff member. All Rundoo needs is a First name, Last name, Staff ID, and Email. Add a cell phone only if they'll sign in by text. Bringing on a whole crew at once? Import staff loads them from a spreadsheet so you're not typing one at a time.
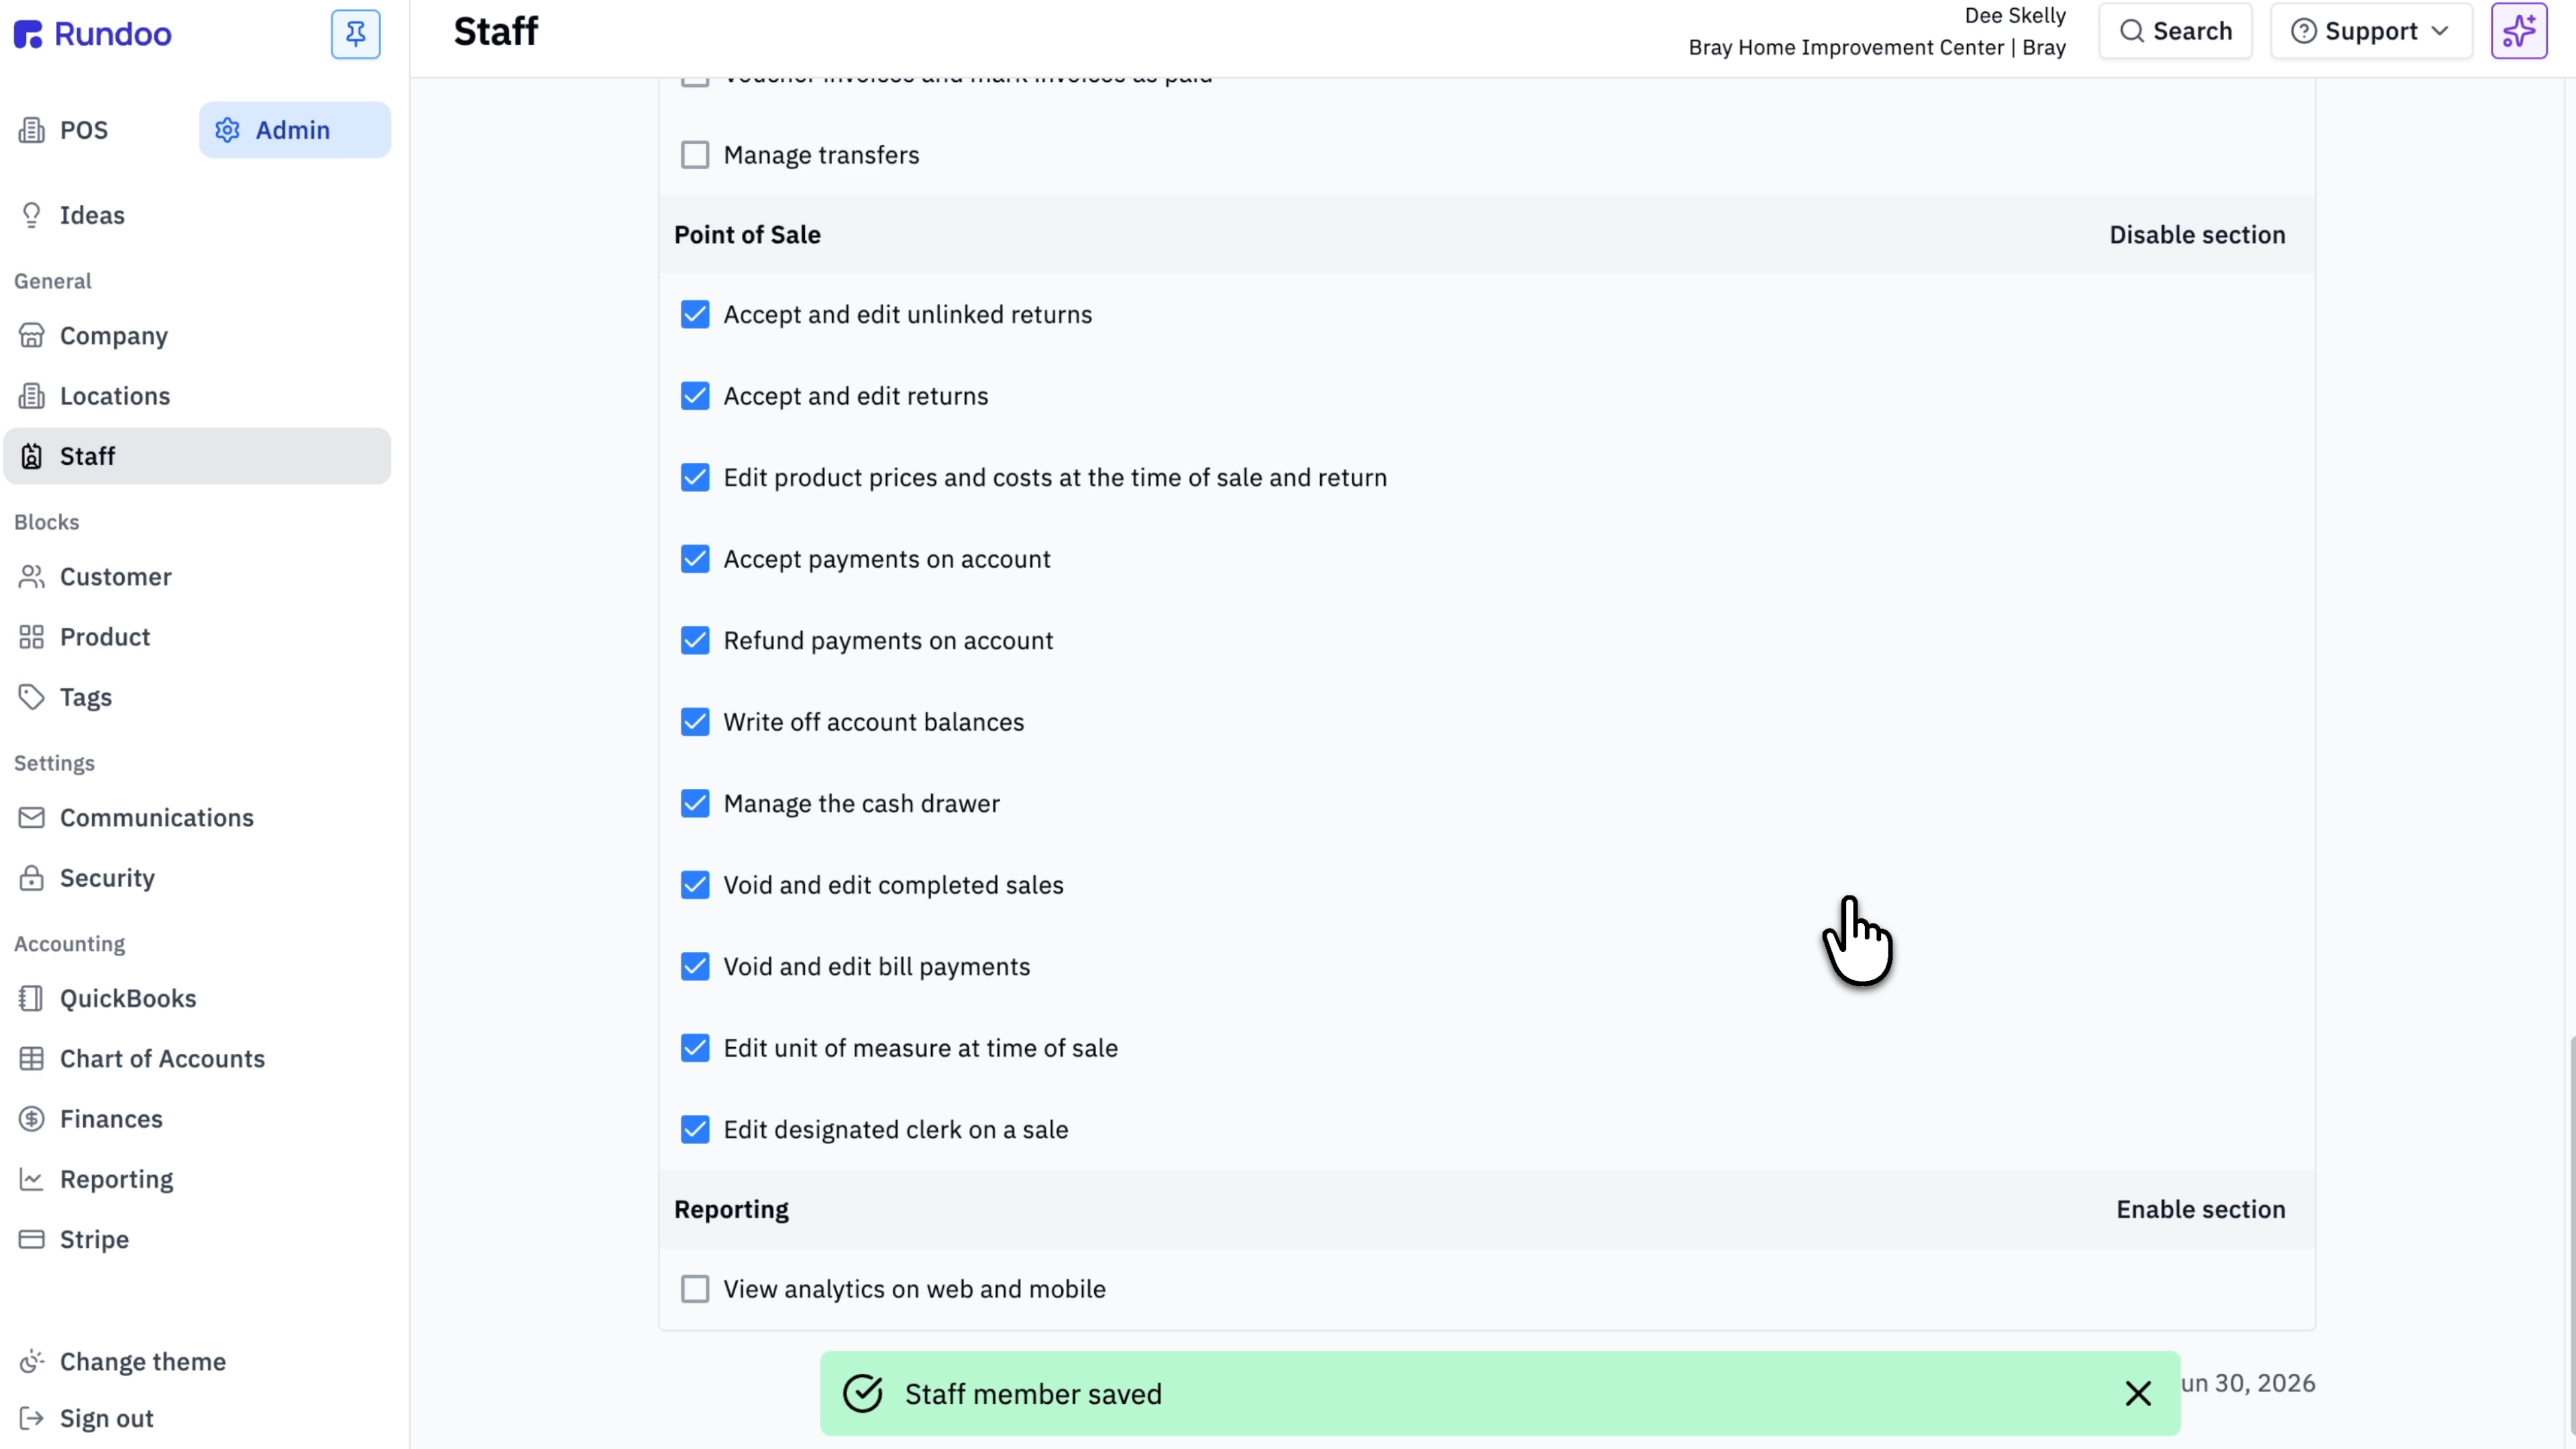
Open anyone's Permissions tab. Rather than sweating every switch, think in three shapes: the owner gets everything, a manager gets most of it but maybe not the back-office admin settings, and a cashier just needs to ring sales. Use Enable section or Disable section to flip a whole group at once, then fine-tune. There is no Save button. Rundoo saves each change the moment you make it.
If clerks trade off on one register all day, don't make them log all the way in and out. Add a dedicated register account (name it something like "Cash Register 1"), turn on Enable shared sign-in on its General tab, and give each clerk a short PIN. They tap their PIN to ring, and every sale is stamped with who rang it. Just remember: the PIN is about who did it, not what they can do. Permissions always come from the shared register account, so set its access to match your floor.
When a team member moves on, switch their profile to Deactivated. That cuts off their sign-in right away but keeps all their past sales on your books where they belong. There is no hard delete, and you can Reactivate them later if they come back.
Can't see sign-in buttons?
Pick your Location first
They only appear after you choose a store.
Email sign-in asks for
Your Staff ID, not email
The short code on your profile. Code lasts ~2 min.
Add a member
Staff → Add new staff member
First, Last, Staff ID, Email required.
Permissions save
Instantly, per checkbox
No Save button. Think owner / manager / cashier.
Good to know